In this blog, I will show you the journey I took to implement a gradient effect on mouse hover as you can see in this website as well as my portfolio.
The final result by following this 'guide' will look like this.

Please note that a gradient effect alone appears quite simple, but if placed with visual elements like dark backgrounds and traslucent cards, it can be enhanced into effects of glow and depth.
The Approach
My implementation of the mouse hover effect is inclined towards the classic usage of JavaScript in web design, i.e, the layout and content of page is contained in html files, the styling of this content is done using CSS files and the presentation is controlled by JS files.
This being said, this approach can be used in other frameworks or tech stack, in fact this website is also built with NextJS (checkout the GitHub repo to know more).
The approach is as follows:
- Track your mouse movements.
- Use DOM to link these movements with an element's transform property.
- Use CSS to make it pretty.
Step 1 - Using JavaScript to track mouse movement
To get the mouse coordinates we can use event listener and capture the x and y coordinates. Please note here we get coordinates w.r.t the root element of the document. If we require coordinates w.r.t. some other element we can subtract, its location accordingly.
The line document.addEventListener('mousemove', moveCursor); adds an event listener to the document object. It listens for the "mousemove" event, which occurs when the user moves the mouse cursor. When this event happens, it calls the moveCursor function.
function moveCursor(event) {
    const x = event.clientX;
    const y = event.clientY;
    console.log(`X: ${x}, Y: ${y}`);
}

document.addEventListener('mousemove', moveCursor);
Step 2 - Interacting with a HTML element
We can proceed by creating a div in the body of our html document and giving it a class of cursor.
<body>
    <div class="cursor"></div>
    <script src="script.js"></script>
</body>
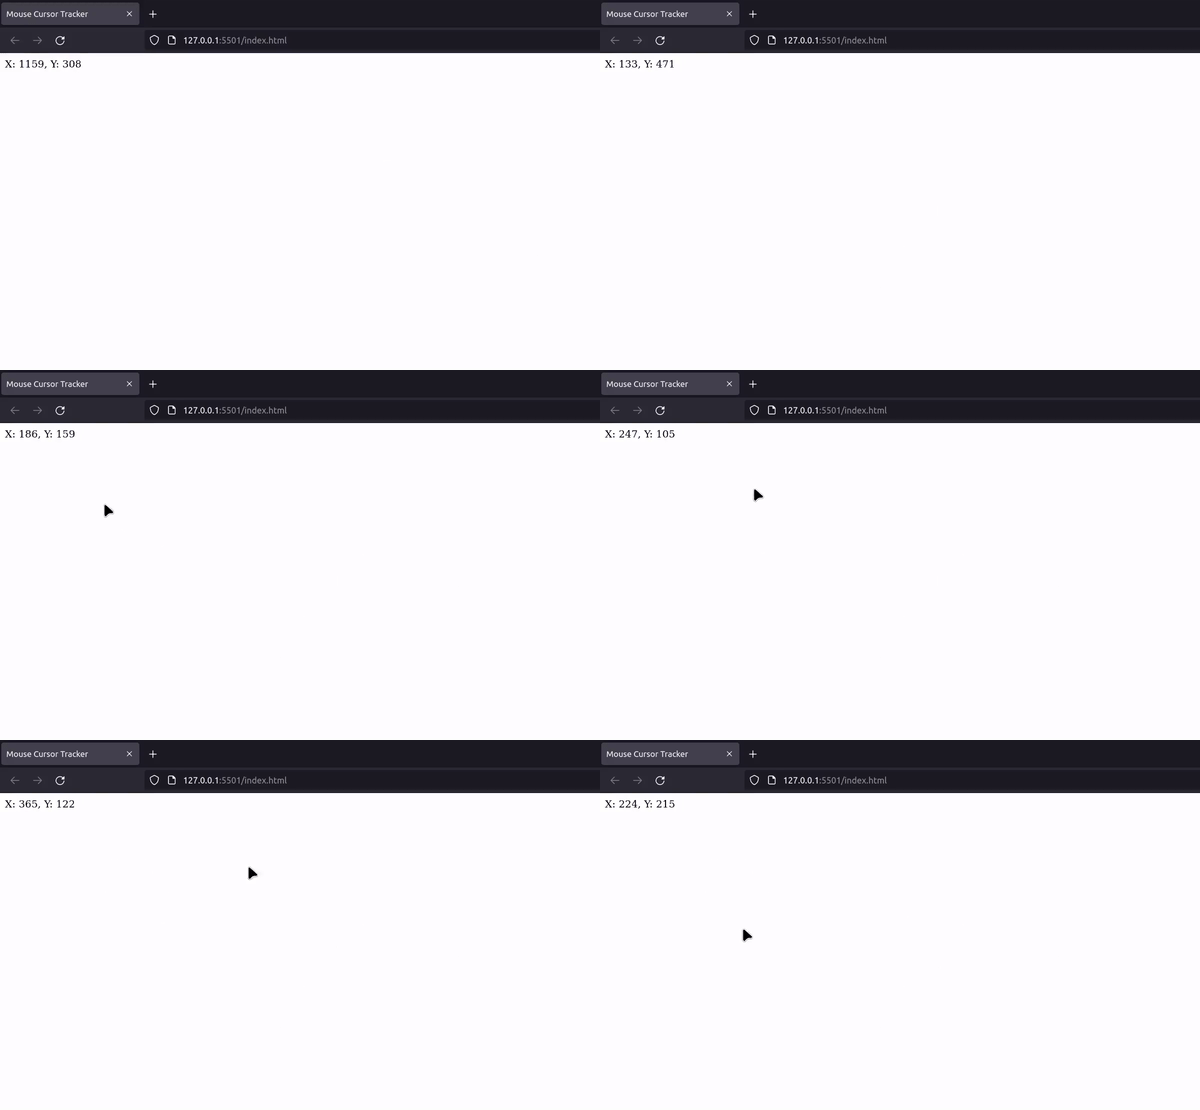
Now we used querySelector in the document to find the HTML element with class 'cursor'. We can give the cursor new textcontent just to verify everything.
const cursor = document.querySelector('.cursor');

function moveCursor(event) {
    const x = event.clientX;
    const y = event.clientY;
    cursor.textContent = `X: ${x}, Y: ${y}`;
}

document.addEventListener('mousemove', moveCursor);
The result of this step:

Step 3 - Changing CSS properties in JavaScript
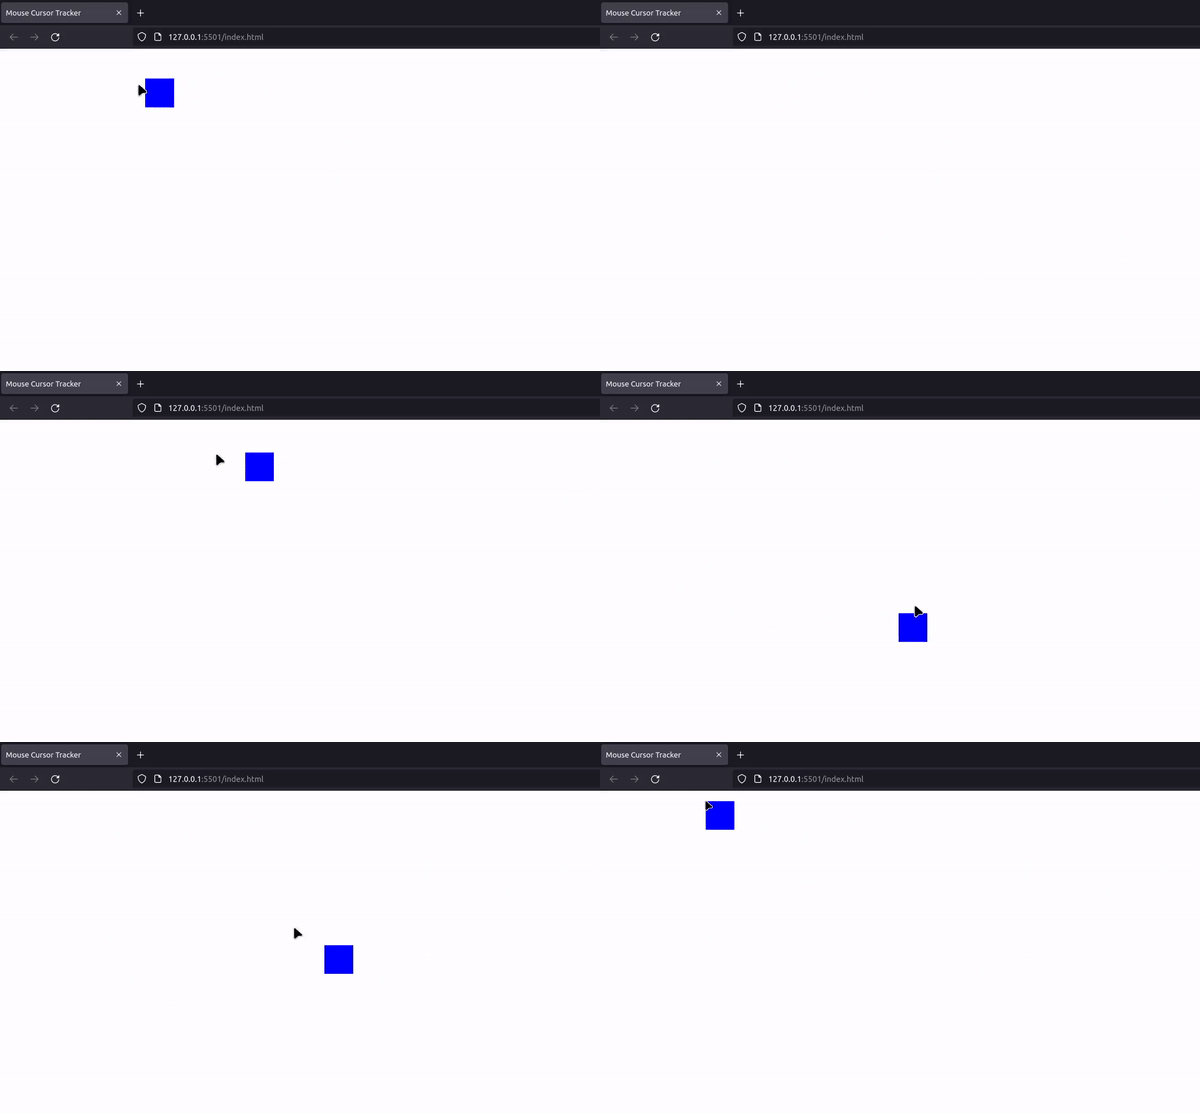
We can use style.transform to change the translate property within the JavaScript file. I have also added some background color to the div so that it can be visible.
function moveCursor(event) {
    const x = event.clientX;
    const y = event.clientY;
    cursor.style.transform = `translate(${x}px, ${y}px)`;
}
this property is equivalent to the CSS attribute shown below (with numbers instead of 'X' and 'Y').
.cursor{
    transform : translate( X px, Y px);
}
The result of this step:

Step 4 - Adding some styling to this element
We need to take care of a few important points here:
- The cursor element should be pass through, so that we can still interact with other elements on the page.
- To make this element always visible the position attribute must be set to fixed.
- If you have some text or other content on the page, make sure to change the z-index accordingly, such that the cursor effect does not block the content.
Here is the CSS I used for this example.
.cursor {
width: 500px;
height: 500px;
margin: -250px 0 0 -250px;
border-radius: 50%;

background: radial-gradient(rgba(18, 103, 214, 0.7) 0, rgba(0,0,0,0) 60%);

position: fixed; /* always shows the div on screen */
pointer-events: none; /* make cursor pass through */

transition: transform 0.1s ease; /* slight animation for smoothness*/
}
The final result looks like this:

Summary
A short summary of the steps:
- We tracked your mouse movements using JavaScript, capturing coordinates relative to the root element.
- We interacted with an HTML element (the cursor div) to display these coordinates.
- We harnessed JavaScript to change CSS properties, using style.transform to translate the div based on mouse coordinates.
- We applied styling to make the cursor element aesthetically pleasing, ensuring it passed through other elements on the page and remained fixed for visibility.
If you need further guidance in how to use this in some popular frameworks, please visit my github project where I have implementations using React-Hooks and use client directive.
I hope you find this blog useful, and implement it your own project. Feel free to give feedback or reccomendations through LinkedIn.
Happy coding!!